
AZ Label Printer
User Guide
User Guide
Streamline your Amazon FBA workflow by printing FNSKU labels directly from Seller Central to your DYMO printer - no more downloading PDFs and manual paper-cutting!
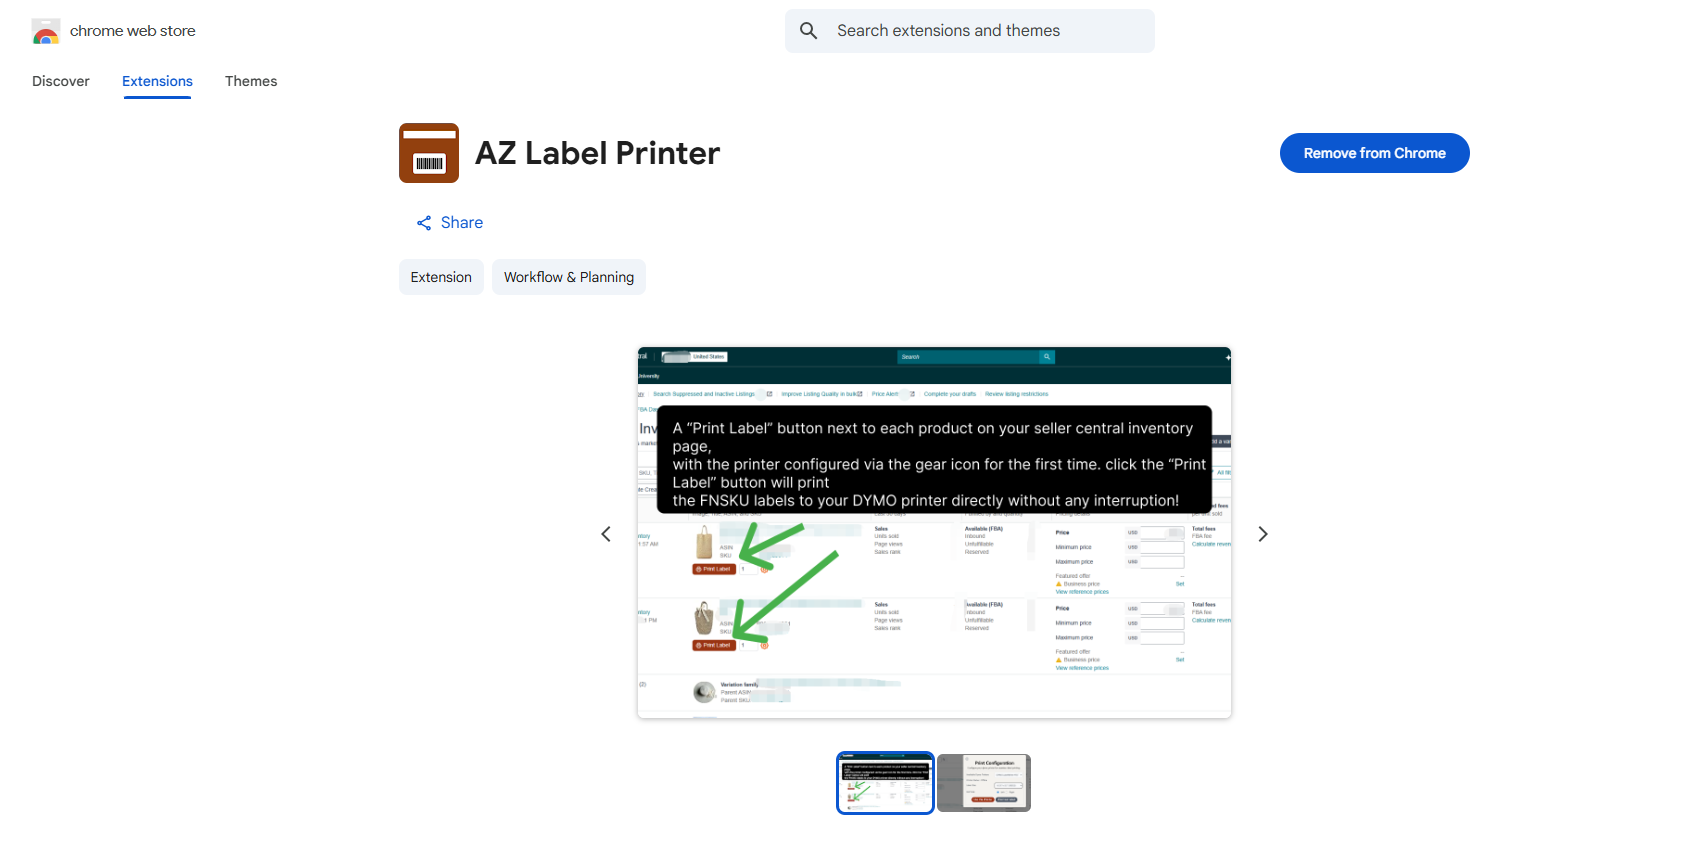
This Chrome extension revolutionizes how Amazon sellers handle FNSKU label printing. Instead of the traditional process of downloading PDF files from Seller Central and manually printing and cutting labels, our extension adds a convenient "Print Label" button directly to each product in your inventory list.
With just one click, you can print perfectly formatted FNSKU labels directly to your DYMO label printer, saving time and eliminating the hassle of PDF management and manual cutting.
Print labels instantly without downloading PDFs or manual cutting. Reduce your labeling time by up to 80%.
Eliminate manual errors and ensure perfect label alignment every time with automated printing.
Streamline your FBA prep process and handle more inventory in less time.
Reduce paper waste and eliminate the need for cutting tools or additional software.
Simple one-click printing with an intuitive interface that integrates seamlessly with Seller Central.
Your data is protected with secure authentication and reliable cloud infrastructure.
DYMO Connect is required for the extension to work. If you don't have it installed, the extension will provide a setup guide to help you get started.
View DYMO Setup GuideGet started by installing the AZ Label Printer extension from the Chrome Web Store.
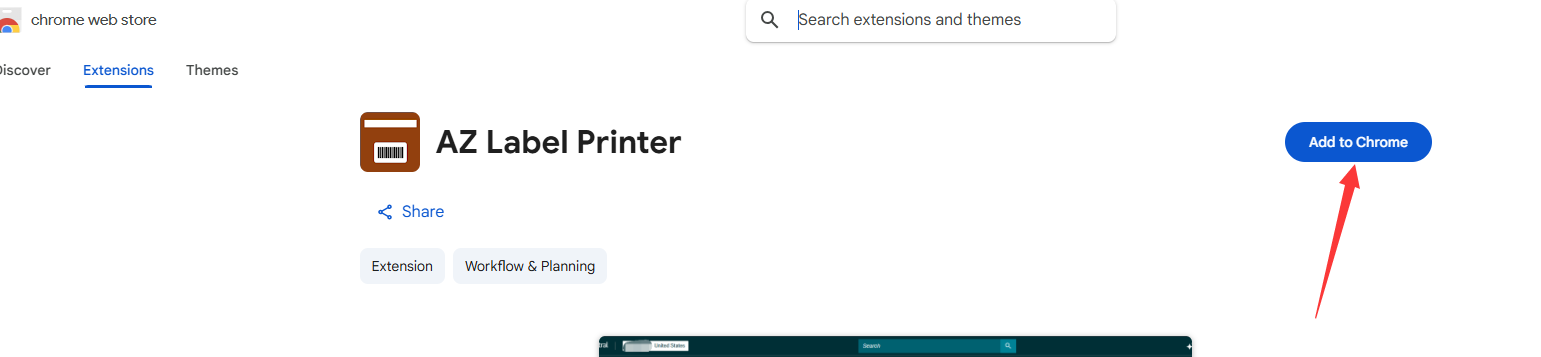
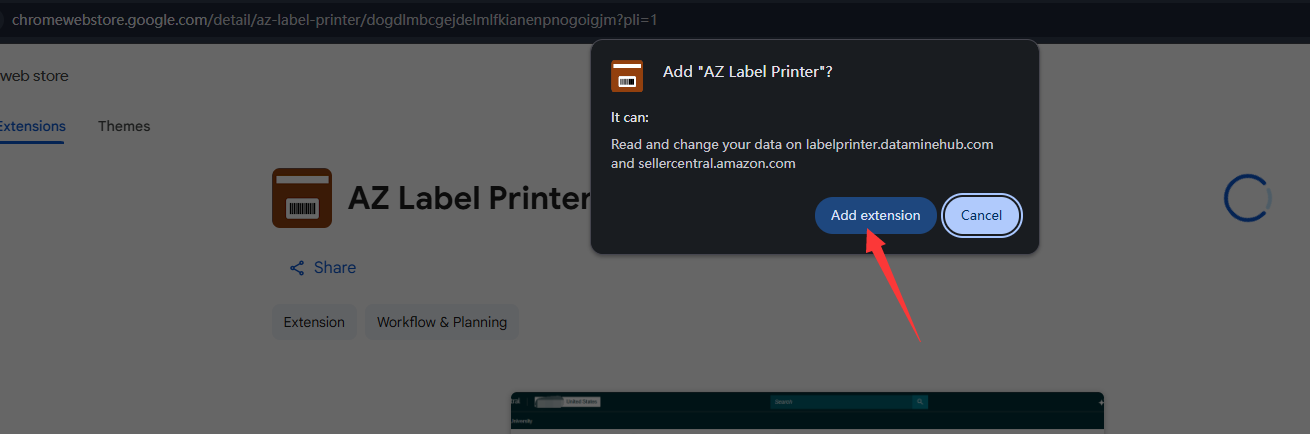
Installation complete! The extension is now ready to use.
Before you can print labels, you'll need to create an account or sign in to access the printing service.
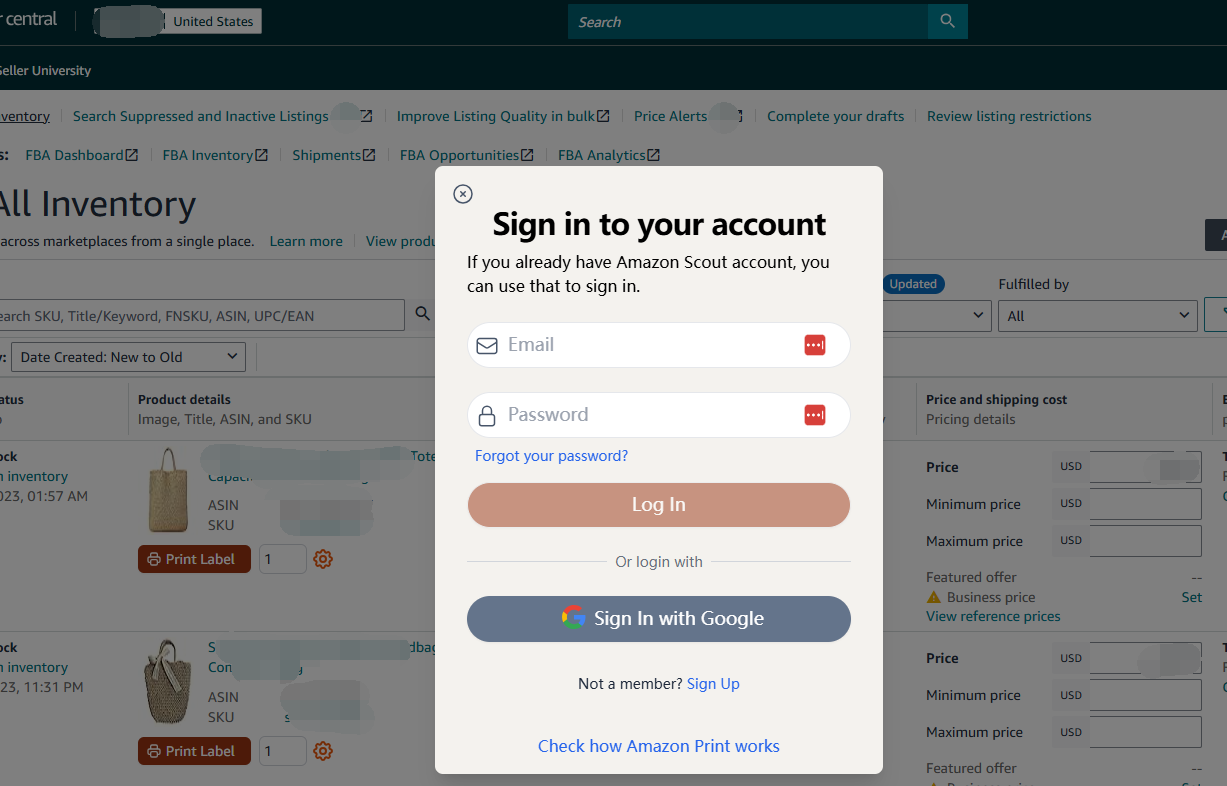
Skip the registration process by using your existing Google account for instant access.
Skip the registration process by using your existing Google account for instant access.
Your account credentials are stored securely and are only used for authentication. We never store or access your Amazon Seller Central login information.
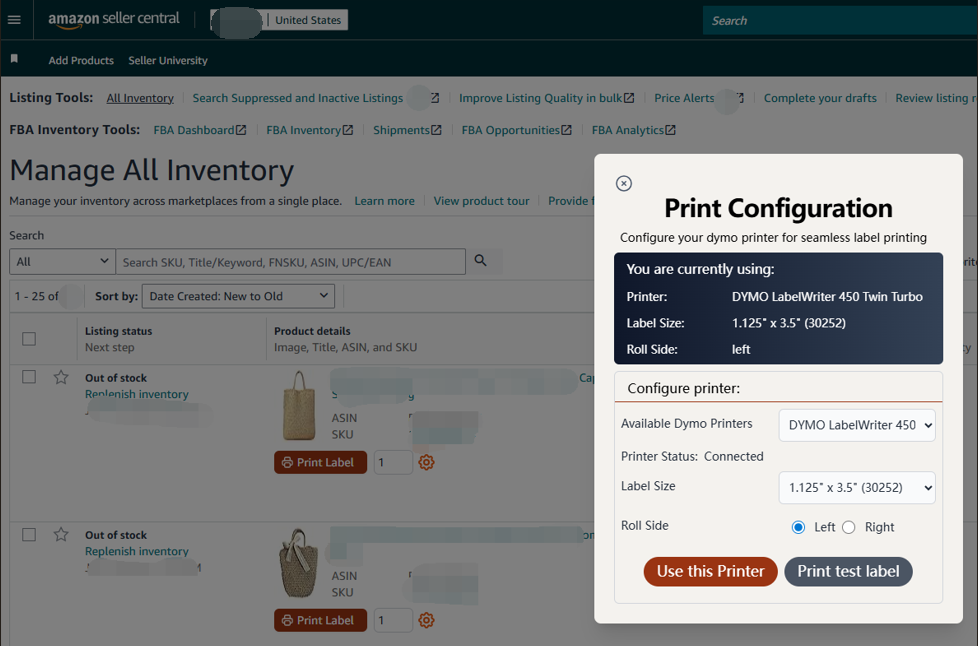
Set up your DYMO printer preferences to ensure perfect label printing every time.
Now you're ready to start printing labels! Here's how to print FNSKU labels directly from your inventory page.
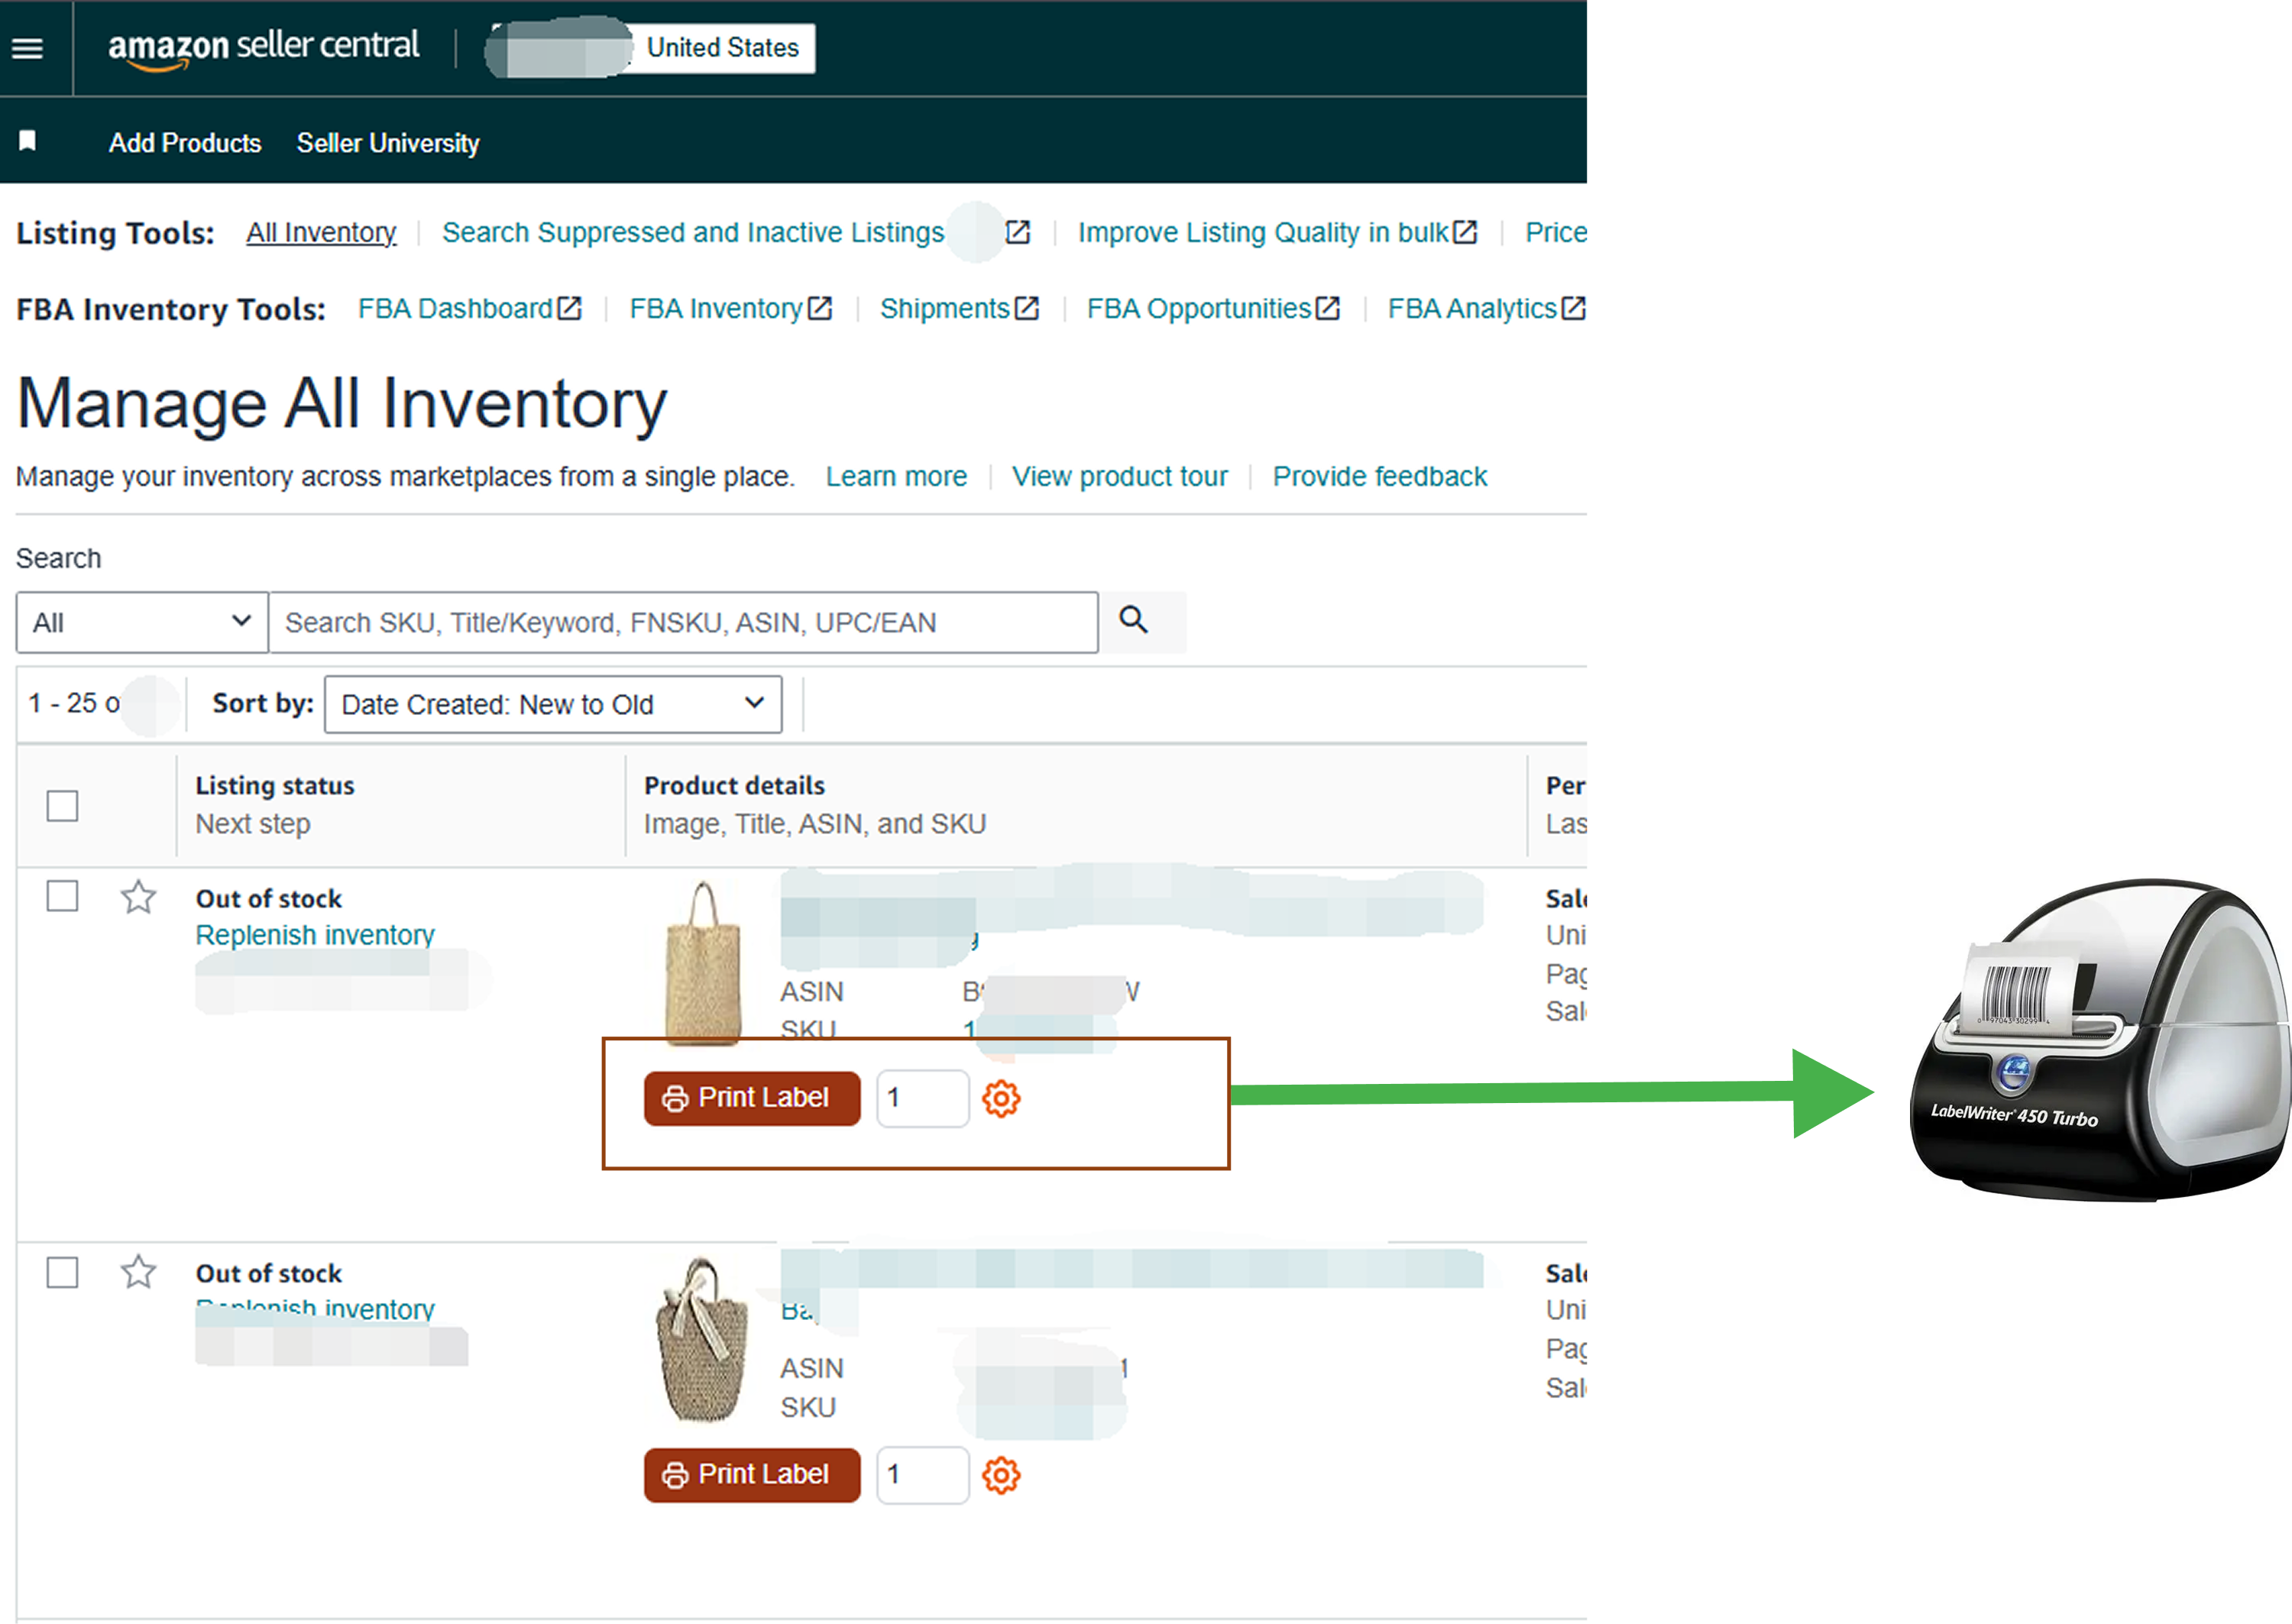
Locate the product you want to print labels for in your inventory list
Input the label quantity you want, the default is 1, and will be reset to 1 after printed.
Click the "Print Label" button next to your chosen product
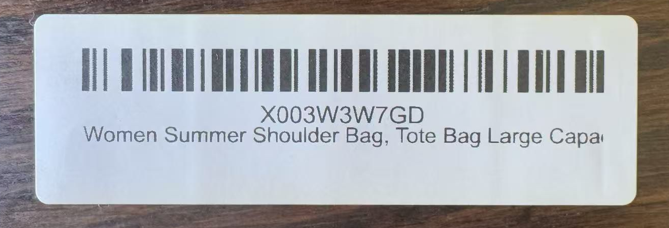
Your FNSKU label prints automatically to your DYMO printer
If your printer isn't working, it's usually a DYMO Connect software issue:
🔧 Quick Fix:
The extension will automatically show you a setup guide if DYMO Connect isn't working properly. Follow the step-by-step instructions to resolve the issue.
Yes! The extension is free to use.
Yes! The extension works with any Amazon Seller Central account you're logged into. Simply use the extension on different seller accounts as needed.
Absolutely. We never store or access your Amazon login credentials. The extension only reads the available product information from your inventory page that's already visible in your browser. All data transmission is encrypted and secure.
Currently, the extension can print multiple same labels for the same product per click. We're considering a bulk print feature for different products for future updates.
Yes, we're working to support more thermal printers. such as Zebra, Rollo, Brother etc.
The extension includes built-in diagnostics. If it detects issues with your DYMO setup, it will automatically display a comprehensive troubleshooting guide to help you resolve the problem quickly.
Yes! The extension works on both Mac and Windows computers. You'll need to install DYMO Connect software (available for both platforms) and have a compatible DYMO label printer.
We're here to help you get the most out of your AZ Label Printer extension.
Suggest improvements and new features on our Facebook community or X